HTML attributes provide additional information about an HTML element.
Their purpose is to alter an element’s behavior or appearance.
How to Use HTML Attributes
Attributes are always specified in the start tag and they usually come in name/value pairs.

The href attribute specifies the URL and target where to open the linked document. Here it opens in a new tab.
Best Practices
Write attributes in lowercase
Although attributes are case-insensitive, most developers and coding guidelines recommend using lowercase.
Lowercase makes code easier to read and maintain.
Note: XHTML (a stricter version of HTML) requires lowercase attributes.

Attribute values should be in quotes
The HTML standard does not require quotes around attribute values.
But it is considered best practice.
Quotes should be used for better readability and consistency.
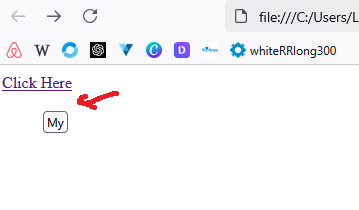
Also, if an attribute contains spaces or special characters, omitting quotes would cause issues.

Because of a space, this example’s title attribute will not render as expected.
NOTE: Double quotes (“) are standard, but single quotes (') can be useful inside attributes.Let’s go over some of the most significant HTML attributes.
The href Attribute
A hyperlink is defined using the <a> element. In the <a> element, the href attribute determines the URL of the page the link leads to.

The src Attribute
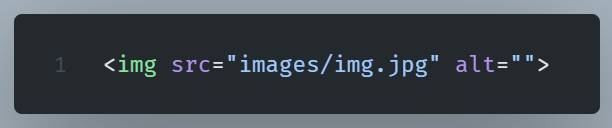
The <img> tag adds images to an HTML file. The src attribute indicates the image’s file path.
The alt Attribute
The <img> tag should include an alt attribute.
The alt attribute should describe the image’s content. We use this to provide alternative text should the image be unavailable.

The style Attribute
We use the style attribute to control an HTML element’s font, size, color, and other styles.

The lang Attribute
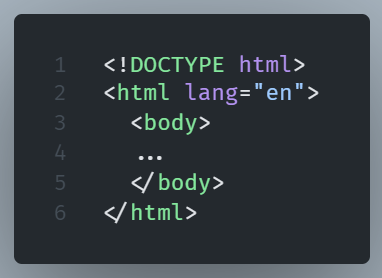
The lang attribute tells search engines and browsers what language an HTML document uses.
This attribute is always found within the HTML tag.
The title Attribute
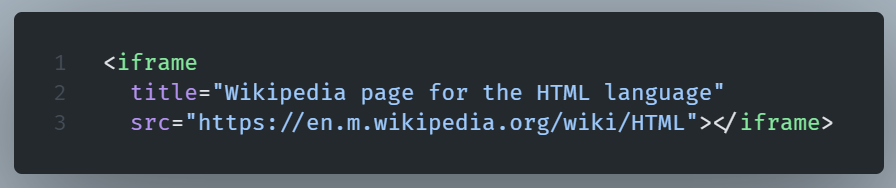
The title attribute provides extra information about an element.
This information appears on mouse hover over elements (links or text).
The id Attribute
The id attribute provides a unique identifier for every element.
Each element must have a unique id within a page. It is used for JavaScript manipulation and CSS styling.

The class Attribute
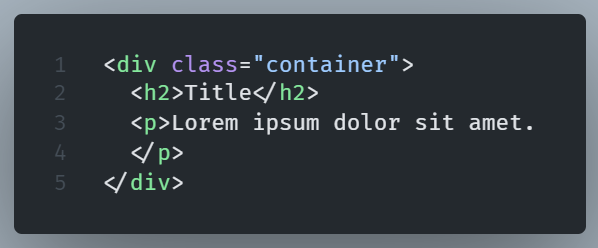
The class attribute is used to assign one or more reusable styles to multiple elements.
Classes, unlike IDs, can be used on multiple elements. It is used for group styling in CSS and JavaScript.
The tabindex Attribute in HTML
This attribute determines the order of elements when navigating with the Tab key.
It can be both applied to interactive (e.g., <input>) and non-interactive (e.g., <div>) elements.
It’s values can be positive, zero (default), or negative (tabindex=”-1“) which removes the element from the tab order.
The type attribute
Specifies the input type (text, password, email, etc.).
The placeholder attribute
The placeholder attribute displays a text hint within the input field.

Boolean Attributes
A few attributes, including the “checked” attribute (example below), have a slightly different syntax.

In the above example we the code of a preselected checkbox.
We use the checked attribute to pre-select it.
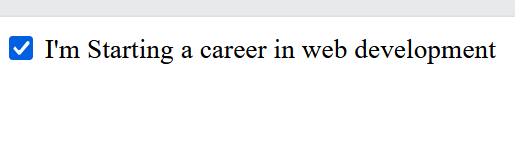
The checked attribute does not require a value.
When the checked attribute is present in the element, the checkbox is checked by default, and if not, it remains unchecked.
We call this a boolean attribute.
In HTML, other frequently used boolean attributes are “disabled” and “required”.
These attributes define the state of an element. And that state can be either True or False, thus we call them boolean.
The hidden attribute
The hidden attribute is a Boolean attribute that hides an HTML element from view. It prevents the element from being displayed on the page but does not remove it from the DOM.
This paragraph exists in the HTML document but is not visible to users.

The disabled attribute
The disabled attribute, disables, as the name implies, the inputfield.

The required attribute
This attribute labels input as mandatory.

Wrapping Up
HTML uses numerous attributes to control how elements look and behave on a web-page.
Understanding attributes is key to building interactive, accessible websites.