In this post, we are going to develop a password input field with the option to hide or display the password.
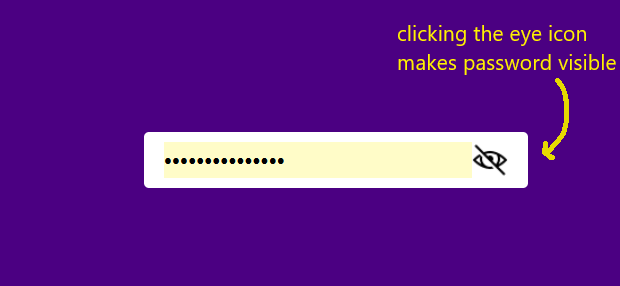
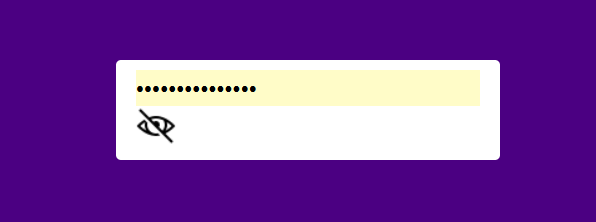
This is how the password input field is going to look like with the password hidden.
By clicking the eye-slash icon password becomes visible.
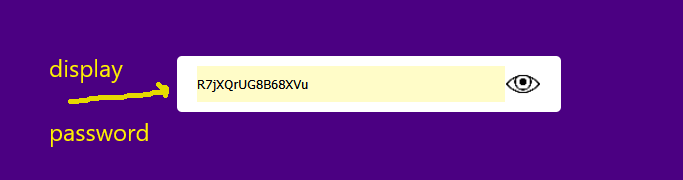
And this is how it is going to look after we have clicked the eye-slash icon.
In order to create this simple tutorial, we are going to need two icons.
I have used two icons from the icons8 website.
You can download them using the below links.
The eye icon, and the eye slash icon.
The links are free, provided that we give the appropriate attribution to the creators.
Creating the password input with HTML
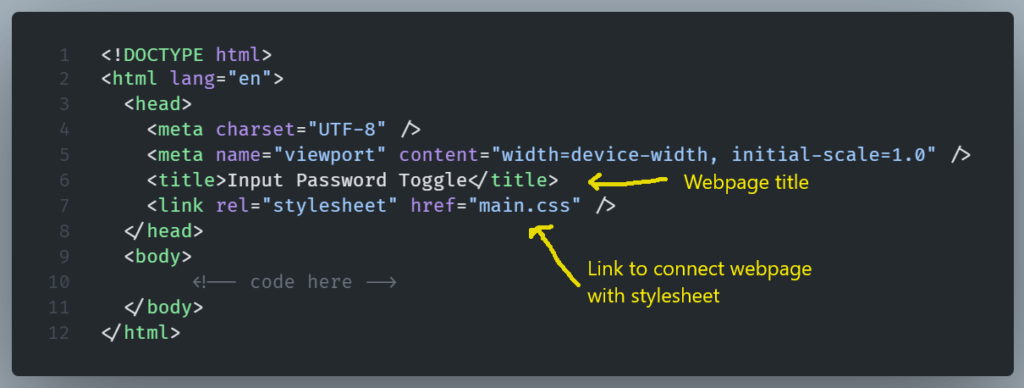
We create the html file, name it test.html, and then we add some boilerplate code.
We then create a second file, name it main.css. We are going to use this file as our stylesheet.
Then we add a div that serves as an input wrapper. Let’s call it input-box.
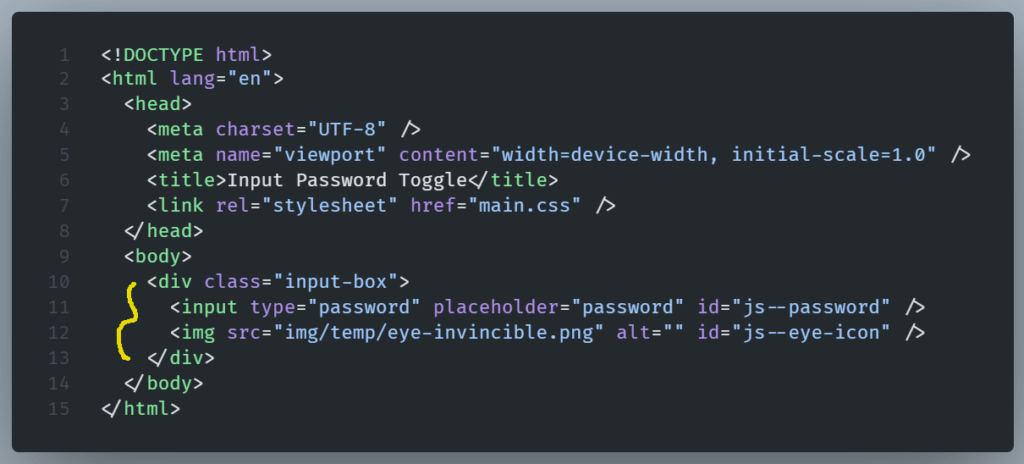
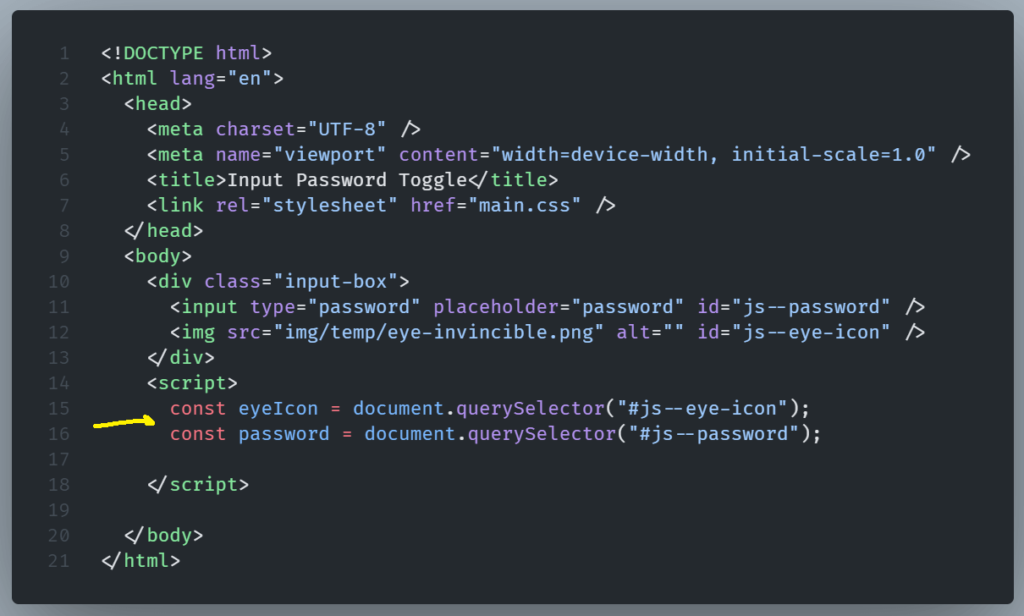
Inside that div we add the password input field with a placeholder of “password” and an image.
Notice that we have also added two IDs that we are going to use later in our JS code.
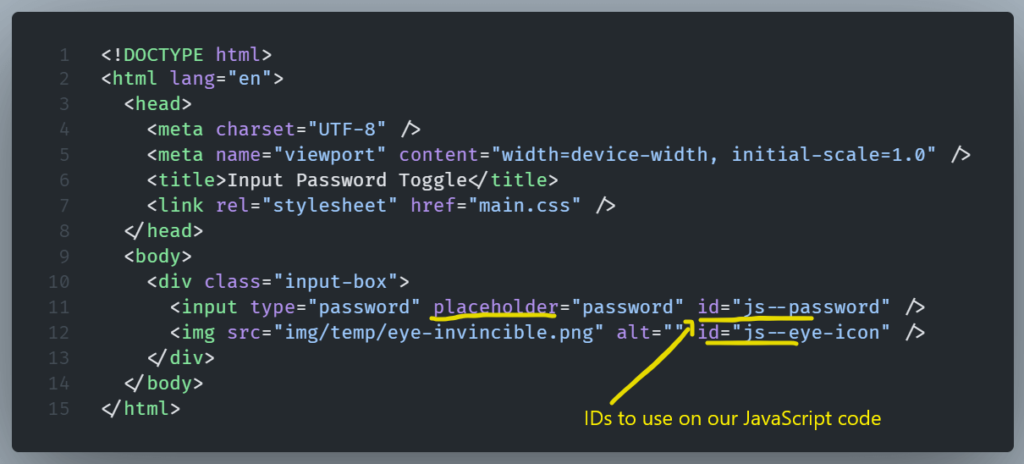
(click on the image to open in a new tab)
Adding Styles
Opening this file with the browser of our choice we get an input field on the left top corner.
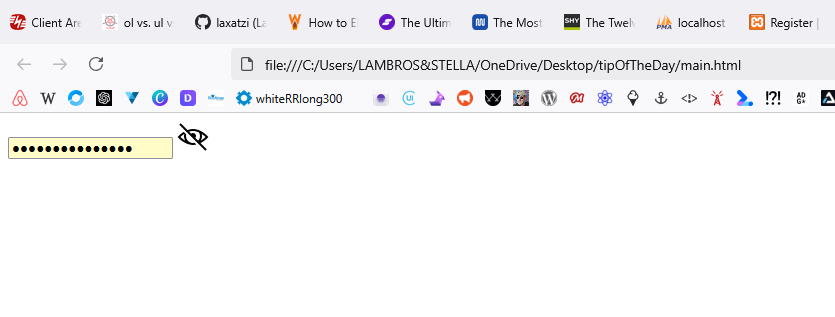
Let’s add some styles to make it presentable.
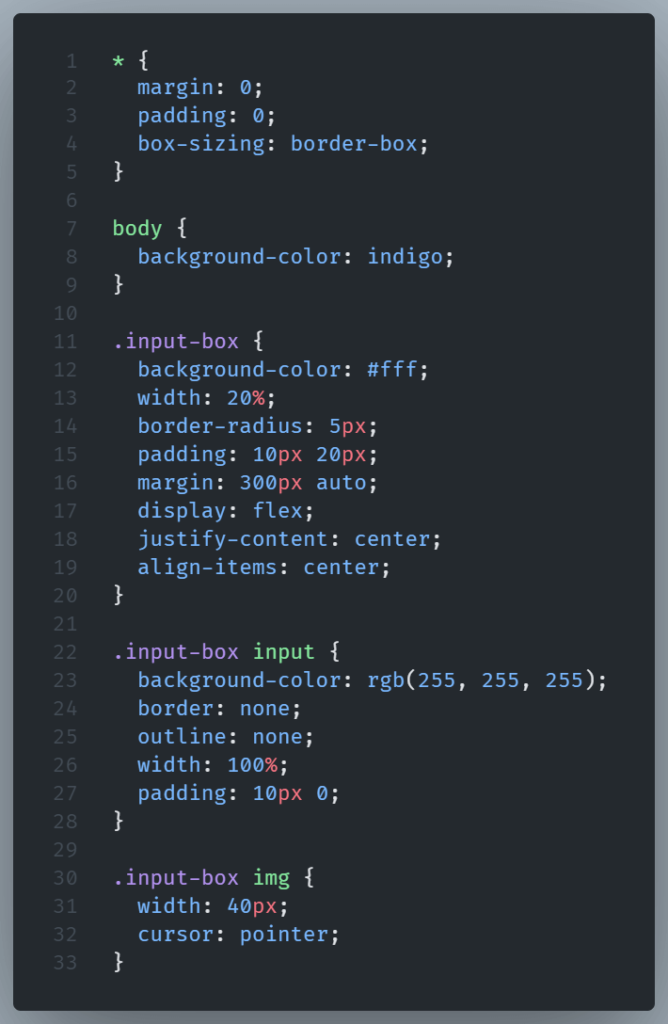
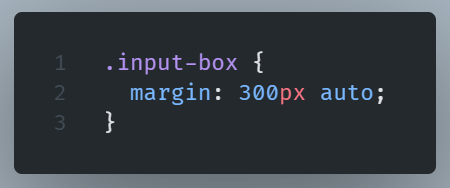
Here we use margin to place the input-box near the center of the viewport.
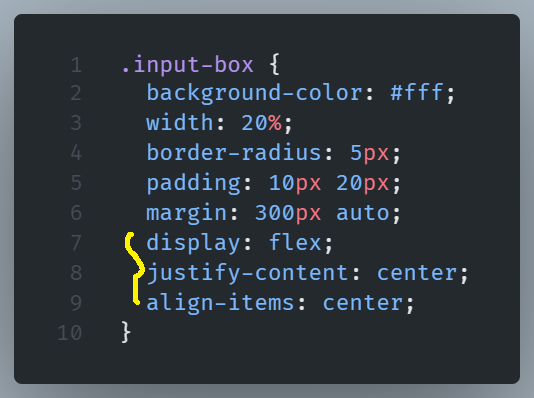
We use flex to align the input field with the eye icon and center them inside the input-box div.
Example of the input-box without flexbox:
And this is how our input is end.

Adding JavaScript
The script tag in HTML serves as a wrapper for embedding JavaScript code into an HTML document.
Inside it, we are going to develop our JavaScript code so we can toggle password visibility.
First we are going to create two variables that are going to make the selection of html elements easy.
We then going to create a function that will make the password visibility toggling possible.
We are going to use the icon to trigger the function.
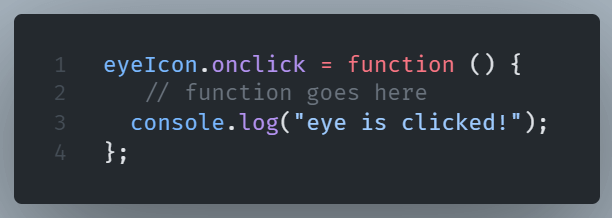
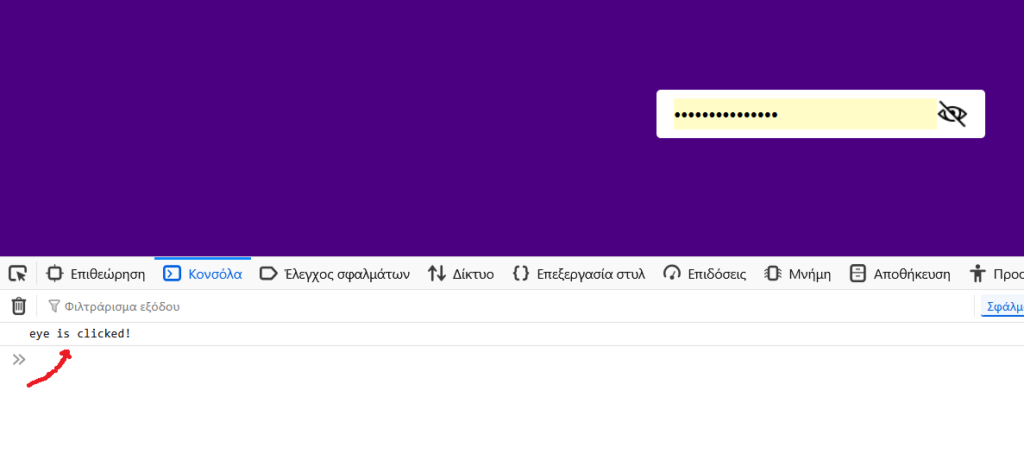
We use console to check if onclick is working.
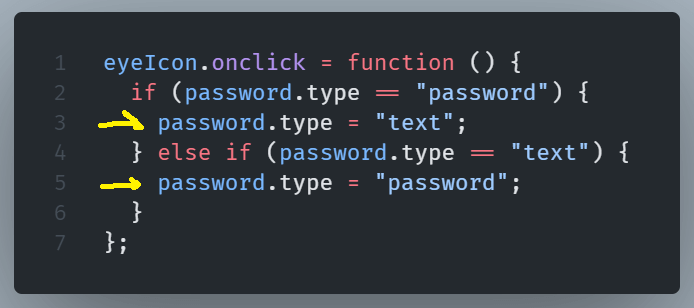
We then add a conditional statement that checks the type of input and alter it accordingly.
If the password is hidden (type=’password’) it makes it visible (type=’text’), and vice versa.
We also need to make the icon to change accordingly.
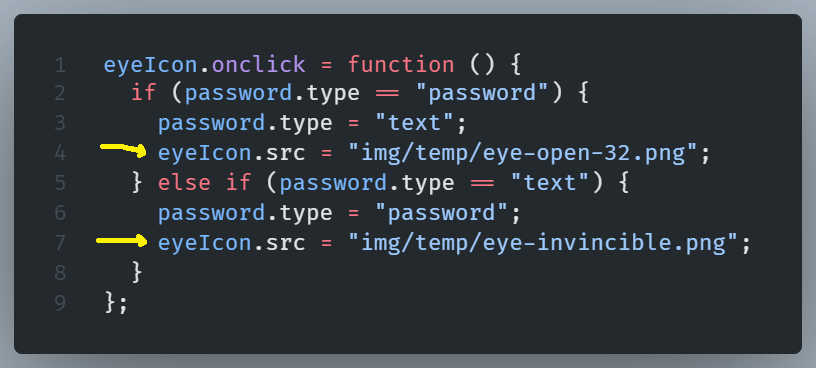
And now we can toggle password visibility in our password input field by clicking the eye icon.