Fonts can define the mood of your website. They build personality, and influence how users feel as they read. But you’re not stuck with system fonts. Τhanks to tools like Google Fonts and Font Squirrel, adding custom typography is easy and free.
Let’s look at how to work with these services without getting lost in the details.
Google Fonts: Fast, Reliable, and Beginner-Friendly
Google Fonts is the primary resource for web developers. It offers a vast collection of open-source fonts, all hosted on Google’s CDN. That means fast performance and wide browser support.
Here’s how to use it:
- Go to Google Fonts
- Choose a font (e.g. Roboto, Lora, Poppins)
- Click “Select this style” and copy the
<link>tag provided - Paste that tag into your HTML
<head>section
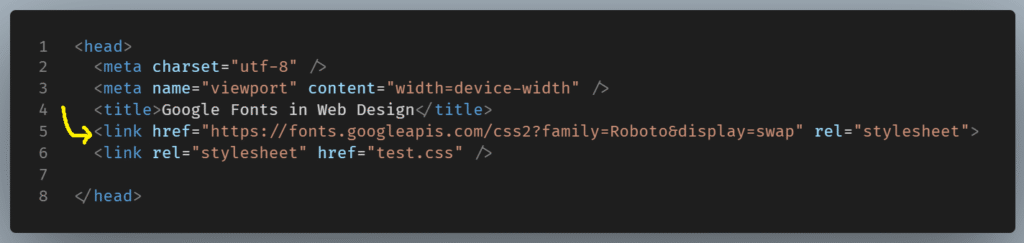
Then, in your CSS:
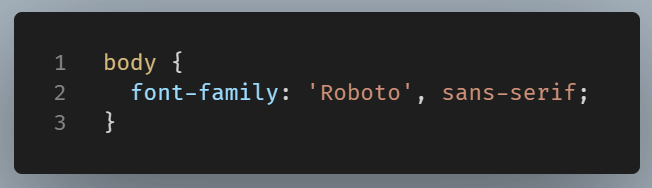
Ready! Now your website is using a web font.
Font Squirrel: Self-Hosting Custom Fonts
Font Squirrel is great when you want more control, like hosting fonts yourself or using a specific licensed typeface. It offers a mix of free, commercial-use fonts and includes a Webfont Generator for converting .ttf or .otf files into web-friendly formats like .woff.
Using Font Squirrel looks like this:
- Download a font package from their site
- Place the fonts in your project folder (e.g.
fonts/) - Use
@font-facein your CSS to load the font
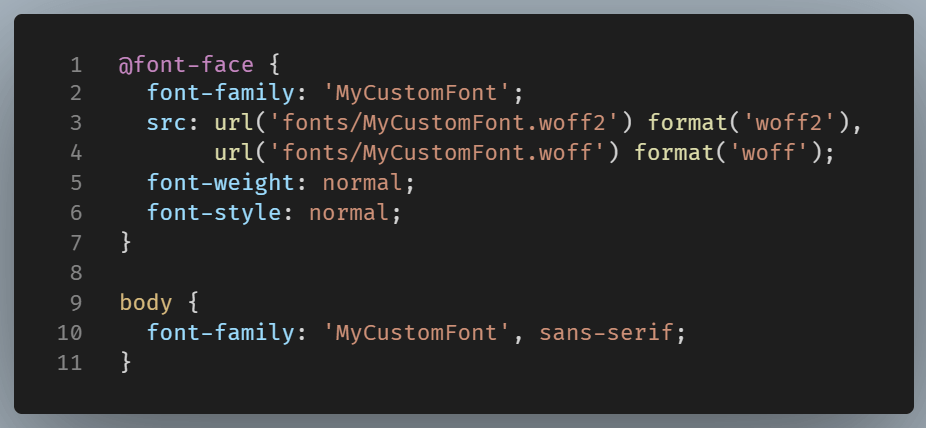
You are now in complete control of the font, without depending on an external server.
Which One Should You Use?
- Google Fonts suits most projects because it’s easy to set up, requires no hosting, and offers solid cross-browser compatibility..
- Font Squirrel is better if you need to self-host or use a specific licensed font.
Both are legitimate, web-safe solutions.
Final Thought
Whether you link to a hosted font or self-host one yourself, working with external fonts gives you flexibility and visual control beyond default system options.
Just remember to always test for performance and fallback gracefully. Because fonts shouldn’t just look good but they should also load fast and read well everywhere.